Four ways to protect your wrists before pain forces you to stop training
 Save
Wrists bear your entire body weight through handstands, cartwheels and floor work. Strain builds when the angle is wrong, when the muscles around the joint are cold, or when you land heavy without preparing the tendons underneath. The advice below covers warm-up drills, conditioning exercises, hand placement and when to use tape or a support — four areas that reduce the chance of an injury that sidelines you for weeks. Astral Acrobatics walks you through each one.
Warm up the wrists before you load them
Cold wrists buckle under load. A proper warm-up increases blood flow to the tendons and loosens the connective tissue, making the joint more tolerant of the angles gymnastics demands.
Start with wrist circles: hands flat on the floor, fingers pointing forward, then lean gently in all directions — forward, back, left, right. Ten circles in each direction. Then flip your hands so your fingers point toward your knees and repeat. The stretch will feel sharper; stop if it hurts.
Follow with bear crawls for thirty seconds. Your wrists work under load but without the impact of a landing. Finish with plank rocks: hold a plank and shift your weight forward over your hands, then back toward your heels. Twenty rocks prepare the wrists for the shifts in pressure that come with floor skills.
Strengthen the muscles that stabilise the joint
Wrist pain often starts because the forearm muscles are too weak to control the joint under load. Conditioning those muscles directly makes the wrist more stable during skills that test it.
Rice-bucket exercises build grip and forearm endurance. Fill a deep container with rice, bury your hands and squeeze, twist and spread your fingers against the resistance for two or three minutes. The movement is small but the forearm burns.
Wrist curls with a light weight isolate the flexors and extensors. Sit with your forearm on your thigh, palm up, and curl a small dumbbell toward you — ten repetitions. Flip your hand over and lift the weight with the back of your hand leading. Both sides matter.
Finger-tip push-ups transfer strength into the tendons. Start on your knees if a full push-up is too much. Five controlled repetitions, twice a week, and your wrists will tolerate more pressure before they complain.
Hand placement determines where the load goes
A handstand with your fingers splayed and your weight forward puts most of the strain on the heel of your palm and the wrist joint itself. Shifting the load toward your fingertips recruits the tendons and muscles of the hand, spreading the work and sparing the wrist.
Active fingers mean pressing into the floor through your fingertips, not just resting on flat palms. In a handstand, when your weight drifts back toward your wrists, push harder through your fingertips to bring it forward again. The correction is tiny but constant.
For floor work and tumbling, land with your fingers slightly turned out — not straight ahead. The outward angle aligns your forearm with the force traveling up through your wrist, reducing the shear stress on the joint. A coach or spotter can watch your hand position and tell you when it drifts.
| Wrist position | Where the load falls | Risk level |
|---|---|---|
| Fingers forward, palms flat | Heel of the palm and wrist joint | Higher |
| Fingers slightly turned out, weight on fingertips | Tendons and muscles of the hand | Lower |
| Fingers splayed, weight back on heels | Wrist joint under shear | Highest |
When to use tape or a wrist support
Tape and supports do not fix weak wrists, but they limit the range of motion when the joint is already irritated or when you are learning a skill that puts your wrists at an unfamiliar angle. Use them as a short-term aid while you address the underlying weakness with conditioning.
Athletic tape applied in a figure-eight around the wrist restricts hyperextension without stopping you from moving. Wrap it snugly but not tight enough to cut off circulation. If your fingers tingle or turn pale, it is too tight.
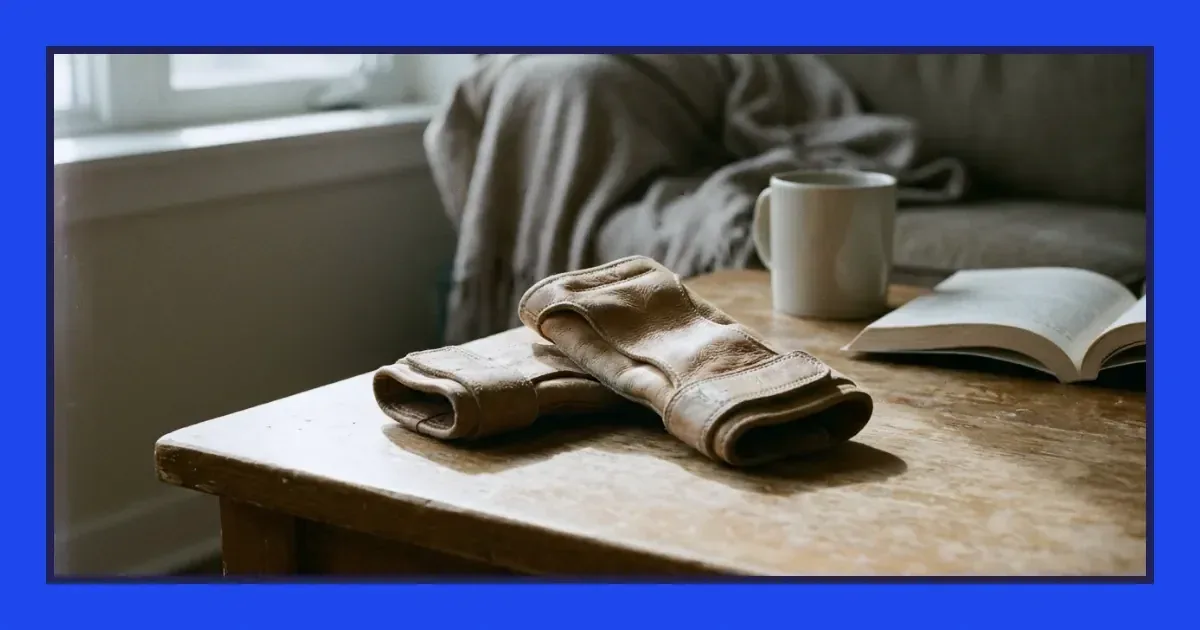
Wrist guards — the rigid kind with a splint inside — are for skills where a fall could force your wrist into a sharp angle, such as learning a back handspring on a hard surface. They are not for everyday training. Relying on them when your wrists are healthy makes the stabilising muscles lazy.
If pain persists after two weeks of rest and modified training, see a physiotherapist. Ignoring wrist pain invites a stress fracture or tendon inflammation that will keep you out of the gym far longer than a precautionary visit would.
A sequence you can follow before every session
The four areas above come together into a routine that takes five minutes and protects your wrists before you ask them to carry you through an hour of training.
- Wrist circles, fingers forward then fingers back, ten circles each direction.
- Bear crawls for thirty seconds, moving slowly and keeping your weight even across both hands.
- Plank rocks, twenty repetitions, shifting your weight from your toes to your fingertips.
- Check your hand placement in a handstand hold or a press-up: fingers active, weight forward, slight outward turn.
- Tape only if your wrists are sore or you are learning a new skill that tests them.
Build the habit before the injury forces it
Wrist injuries are slow to arrive and slower to heal. Pain that starts as a dull ache after training becomes sharp enough to stop you mid-skill if you ignore it. The warm-up drills, conditioning work and hand adjustments described here cost less time than a month out of the gym.
Most gymnasts warm up their legs and shoulders but skip their wrists until something hurts. That is the wrong order. A proper warm-up for gymnastics treats the wrists as load-bearing joints, not hinges that will look after themselves. Start the habit now, while your wrists still feel fine.
Download PDF: Wrist protection checklist for every training session PDF, 28 KB
Frequently asked questions
Why do my wrists hurt after gymnastics training?
Wrist pain after training comes from repeated loading without enough warm-up, weak forearm muscles or poor hand placement that forces the joint into sharp angles under your body weight.
How do I strengthen my wrists for gymnastics?
Rice-bucket exercises, wrist curls with a light weight and finger-tip push-ups all build the forearm muscles and tendons that stabilise the wrist under load.
Should I tape my wrists for gymnastics?
Tape your wrists when they are already sore or when you are learning a new skill that tests them, but do not rely on tape during everyday training — it weakens the stabilising muscles over time.